Embed Custom Chatbots: Complete Website Integration
Picture this scene…
It’s 9 PM. Lisa, our head of digital, is on her third coffee. She’s been trying to embed a chatbot on the company website for… wait for it… three weeks.
Three. Weeks.
The vendor promised “easy integration.” The documentation is 147 pages. There are 17 different JavaScript files. The CSS conflicts with everything. And don’t even get me started on the CORS errors.
She messages me: “There has to be a better way.”
I send her one line of code:
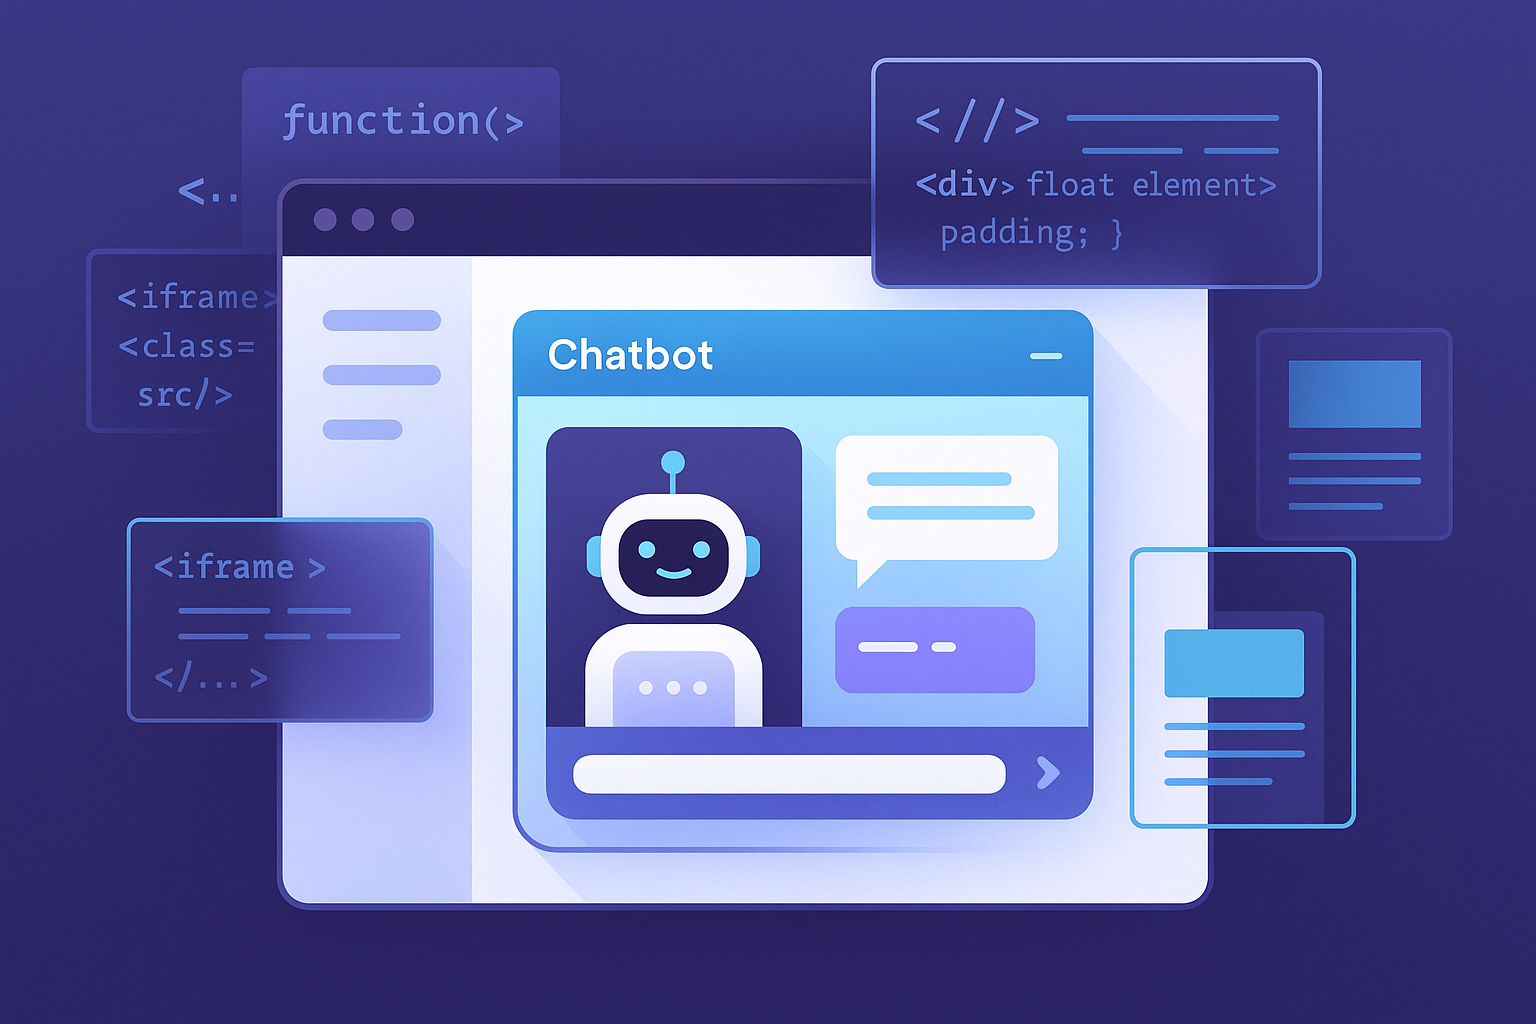
<iframe src="https://policychatbot.com/chat/your-guid-here" />
“That’s it?” she asks.
“That’s it.”
Thirty seconds later, the chatbot is live on their website. Styled. Responsive. Working.
She hasn’t spoken to the vendor since.
The Integration Methods Nobody Explains Properly
Let’s talk about the four ways to embed a chatbot on your website. Not the marketing fluff. The actual technical reality.
Method 1: The iframe (The “Just Works” Approach)
<iframe
  src="https://policychatbot.com/chat/abc123"
  width="400"
  height="600"
  frameborder="0">
</iframe>
That’s it. That’s the entire integration.
Pros:
- Works immediately
- Zero JavaScript knowledge required
- No conflicts with your site
- Completely sandboxed
- Updates automatically
Cons:
- Less customization control
- Fixed dimensions (unless you make it responsive)
- Can’t access parent page data directly
But here’s the thing… 90% of companies don’t need more than this.
Method 2: The JavaScript Widget (The “I Want Control” Approach)
<script>
  (function(w, d, s, o, f, js, fjs) {
    w['PolicyChatbot'] = o; w[o] = w[o] || function() {
      (w[o].q = w[o].q || []).push(arguments)
    };
    js = d.createElement(s), fjs = d.getElementsByTagName(s)[0];
    js.id = o; js.src = f; js.async = 1; fjs.parentNode.insertBefore(js, fjs);
  }(window, document, 'script', 'pcb', 'https://policychatbot.com/widget.js'));

  pcb('init', {
    guid: 'your-guid-here',
    position: 'bottom-right',
    theme: 'dark'
  });
</script>
More complex, but more powerful.
Pros:
- Full customization
- Can interact with your page
- Dynamic positioning
- Event callbacks
- Conditional display
Cons:
- Can conflict with existing JavaScript
- Needs testing across browsers
- More things can break
Method 3: The React Component (The “Modern Stack” Approach)
import { PolicyChatbot } from '@policychatbot/react';

function App() {
  return (
    <PolicyChatbot
      guid="your-guid-here"
      theme="custom"
      onMessageSent={(msg) => analytics.track('chatbot_interaction', msg)}
      customStyles={{
        primaryColor: '#your-brand-color',
        fontFamily: 'your-font'
      }}
    />
  );
}
For when your entire site is already in React.
Pros:
- Seamless integration with React apps
- TypeScript support
- Component lifecycle management
- State management integration
Cons:
- Only works with React
- Requires build process
- Version dependency management
Method 4: The API (The “Full Control” Approach)
const response = await fetch('https://api.policychatbot.com/query', {
  method: 'POST',
  headers: {
    'Authorization': 'Bearer your-api-key',
    'Content-Type': 'application/json'
  },
  body: JSON.stringify({
    question: 'What is the remote work policy?',
    sessionId: userSessionId
  })
});

const answer = await response.json();
// Build your own UI with the response
When you want to build your own interface entirely.
Pros:
- Complete control over UX
- Can integrate anywhere
- Custom authentication
- Backend integration
Cons:
- You build the entire UI
- Handle errors yourself
- Manage conversation state
- No automatic updates
The Real-World Implementation Disasters
Let me tell you about some embedding disasters I’ve witnessed:
The Z-Index Nightmare
Company A embedded a chatbot. Worked great. Until they realized it appeared behind their cookie banner, navigation dropdown, and modal dialogs.
Their fix?
.chatbot { z-index: 999999 !important; }
Now it appears over everything. Including important error messages. And the checkout button.
The Mobile Massacre
Company B’s chatbot looked perfect on desktop. On mobile? It covered the entire screen. Users couldn’t close it. Couldn’t navigate. Couldn’t do anything.
Their emergency fix? Hide it on mobile entirely. Brilliant.
The Performance Catastrophe
Company C loaded:
- jQuery (85kb)
- Their chatbot library (200kb)
- Analytics for the chatbot (50kb)
- Styling framework (150kb)
- Custom fonts for the chatbot (200kb)
Total: 685kb just for a chatbot. Their entire site was 500kb before this.
Page load time went from 1.2 seconds to 4.8 seconds. Conversions dropped 30%.
The PolicyChatbot Embedding That Actually Works
Here’s how PolicyChatbot avoids these disasters:
Smart Responsive Design
<iframe
  src="https://policychatbot.com/chat/your-guid"
  style="width: 100%; height: 600px; max-width: 400px;">
</iframe>
Automatically adjusts for:
- Mobile screens (full width, appropriate height)
- Tablets (floating widget option)
- Desktop (sidebar or corner bubble)
No media queries needed.
Intelligent Loading
PolicyChatbot loads in stages:
- Tiny loader script (2kb)
- Core functionality (15kb) - only when opened
- Enhanced features (lazy loaded)
- Conversation history (on demand)
Total initial impact: 2kb. That’s smaller than most tracking pixels.
Zero-Conflict Architecture
Everything is namespaced:
window.PolicyChatbotWidget = {
  // All our code lives here
  // Never touches global scope
  // Never conflicts with your code
};
CSS is scoped:
.pcb-widget .pcb-button {
  /* Styles only apply within our widget */
}
No !important. No global styles. No conflicts.
The 30-Second Integration Guide
Here’s literally how to embed PolicyChatbot:
Step 1: Get Your Embed Code (10 seconds)
Log into PolicyChatbot → Settings → Embed Code → Copy
Step 2: Paste It (10 seconds)
Open your website HTML → Paste before </body> → Save
Step 3: Customize (10 seconds)
<script>
  pcb('init', {
    guid: 'your-guid',
    position: 'bottom-right',  // or 'bottom-left', 'top-right', etc.
    language: 'en',            // or 'es', 'fr', 'de', etc.
    startOpen: false,          // Start expanded?
    placeholder: 'Ask about our policies...'
  });
</script>
Done. Live. Working.
Advanced Integration Patterns
Now for the fun stuff. Things you can do that’ll make you look like a wizard:
Pattern 1: Contextual Activation
Show the chatbot only when it makes sense:
// Show on specific pages
if (window.location.pathname.includes('/policies')) {
  pcb('show');
}

// Show after user scrolls 50%
window.addEventListener('scroll', () => {
  if (window.scrollY > document.body.scrollHeight * 0.5) {
    pcb('show');
  }
});

// Show when user seems confused (been on page 30+ seconds)
setTimeout(() => {
  if (!hasUserInteracted) {
    pcb('show', {
      message: 'Need help finding something?'
    });
  }
}, 30000);
Pattern 2: Pre-Population
Start conversations with context:
// User clicks "Help with vacation policy"
document.querySelector('.vacation-help').addEventListener('click', () => {
  pcb('open', {
    prefill: 'What is the vacation policy?'
  });
});

// Auto-fill based on page content
pcb('init', {
  prefill: `Questions about ${document.title}?`
});
Pattern 3: Analytics Integration
Track everything:
pcb('on', 'message_sent', (data) => {
  // Google Analytics
  gtag('event', 'chatbot_interaction', {
    'question': data.message,
    'page': window.location.pathname
  });

  // Segment
  analytics.track('Chatbot Question', {
    question: data.message,
    timestamp: new Date()
  });
});

pcb('on', 'feedback_given', (data) => {
  analytics.track('Chatbot Feedback', {
    helpful: data.rating === 'positive',
    question: data.question,
    answer: data.answer
  });
});
Pattern 4: Custom Styling
Match your brand perfectly:
pcb('init', {
  customCSS: `
    .pcb-header {
      background: linear-gradient(135deg, #667eea 0%, #764ba2 100%);
    }
    .pcb-message-user {
      background: #your-brand-color;
    }
    .pcb-input {
      border-radius: 20px;
    }
  `
});
Or link external stylesheet:
pcb('init', {
  stylesheetURL: 'https://yoursite.com/chatbot-theme.css'
});
The CORS Configuration Nobody Talks About
If you’re embedding on a different domain, you need CORS headers. Here’s what actually works:
For PolicyChatbot (Already Configured)
Access-Control-Allow-Origin: *
Access-Control-Allow-Methods: GET, POST
Access-Control-Allow-Headers: Content-Type, Authorization
You don’t need to do anything. It just works.
For DIY Solutions (Your Nightmare)
# nginx configuration
location /chatbot {
  if ($request_method = 'OPTIONS') {
    add_header 'Access-Control-Allow-Origin' '$http_origin';
    add_header 'Access-Control-Allow-Methods' 'GET, POST, OPTIONS';
    add_header 'Access-Control-Allow-Headers' 'DNT,User-Agent,X-Requested-With,If-Modified-Since,Cache-Control,Content-Type,Range,Authorization';
    add_header 'Access-Control-Max-Age' 1728000;
    add_header 'Content-Type' 'text/plain; charset=utf-8';
    add_header 'Content-Length' 0;
    return 204;
  }

  add_header 'Access-Control-Allow-Origin' '$http_origin' always;
  add_header 'Access-Control-Allow-Credentials' 'true' always;
}
Miss one header? Broken. Wrong order? Broken. Typo? Broken.
Platform-Specific Integration Guides
WordPress
Install the PolicyChatbot plugin:
- Download from WordPress repository
- Activate plugin
- Enter your GUID
- Done
Or manually:
// In functions.php
function add_policychatbot() {
  echo '<script src="https://policychatbot.com/widget.js"></script>';
  echo '<script>pcb("init", { guid: "your-guid" });</script>';
}
add_action('wp_footer', 'add_policychatbot');
Shopify
In theme.liquid:
{% if template contains 'page' %}
  <script src="https://policychatbot.com/widget.js"></script>
  <script>
    pcb('init', {
      guid: 'your-guid',
      // Show on policy pages only
      autoShow: {{ page.handle == 'policies' }}
    });
  </script>
{% endif %}
React/Next.js
// components/Chatbot.jsx
import { useEffect } from 'react';

export default function Chatbot() {
  useEffect(() => {
    const script = document.createElement('script');
    script.src = 'https://policychatbot.com/widget.js';
    script.async = true;
    script.onload = () => {
      window.pcb('init', { guid: 'your-guid' });
    };
    document.body.appendChild(script);

    return () => {
      document.body.removeChild(script);
    };
  }, []);

  return null;
}
Vue.js
<template>
  <div id="chatbot-container"></div>
</template>

<script>
export default {
  mounted() {
    const script = document.createElement('script');
    script.src = 'https://policychatbot.com/widget.js';
    script.onload = () => {
      window.pcb('init', {
        guid: 'your-guid',
        container: '#chatbot-container'
      });
    };
    document.head.appendChild(script);
  }
}
</script>
The Testing Checklist
Before going live, test:
Desktop Testing
- Chrome (latest)
- Firefox (latest)
- Safari (latest)
- Edge (latest)
- Different screen sizes
- With ad blockers
- With popup blockers
Mobile Testing
- iOS Safari
- iOS Chrome
- Android Chrome
- Android Firefox
- Portrait orientation
- Landscape orientation
- With keyboard open
Functionality Testing
- Opens correctly
- Closes correctly
- Maintains conversation
- Handles network issues
- Respects user preferences
- Analytics tracking works
- No console errors
Performance Testing
- Page load time impact < 100ms
- No layout shift
- No blocking resources
- Lazy loads appropriately
Common Integration Mistakes
Mistake 1: Multiple Instances
// DON'T DO THIS
pcb('init', { guid: 'guid-1' });
pcb('init', { guid: 'guid-2' });  // Overwrites first one!
Mistake 2: Race Conditions
// BAD - Script might not be loaded yet
<script src="chatbot.js"></script>
<script>pcb('init', {...});</script>

// GOOD - Wait for load
<script src="chatbot.js" onload="pcb('init', {...})"></script>
Mistake 3: Forgetting Mobile
/* BAD - Fixed size */
.chatbot { width: 400px; height: 600px; }

/* GOOD - Responsive */
.chatbot {
  width: 100%;
  max-width: 400px;
  height: 600px;
}
Mistake 4: Blocking the Page
// BAD - Blocks page load
<script src="https://huge-chatbot-library.js"></script>

// GOOD - Async loading
<script async src="https://huge-chatbot-library.js"></script>
The Migration Path
Already have a chatbot? Here’s how to switch:
Week 1: Parallel Running
- Keep existing chatbot
- Add PolicyChatbot on test pages
- Compare performance
Week 2: A/B Testing
- 50% users see old chatbot
- 50% see PolicyChatbot
- Measure engagement
Week 3: Full Migration
- Replace old chatbot code
- Redirect old endpoints
- Update documentation
Lisa’s migration took 2 hours. Not 2 weeks. 2 hours.
The Bottom Line
Embedding a chatbot shouldn’t require:
- A computer science degree
- Three weeks of development
- 147 pages of documentation
- A therapy session
It should be:
- Copy code
- Paste code
- Celebrate
That’s what PolicyChatbot delivers.
Lisa’s chatbot has been running for 6 months now. Zero issues. Zero maintenance. Zero regrets.
The vendor she abandoned? They’re still sending her “integration support” emails.
She marks them as spam.
Embed a custom chatbot on your website in 30 seconds. No PhD required. Get your PolicyChatbot embed code now and go live before your coffee gets cold.